Using PowerShell to Launch an Amazon Web Services EC2 Windows Instance
Now that we’ve looked at how to get started with the AWS PowerShell tools lets take a look at a simple scenario of launching an EC2 instance to run a basic web server.
The steps involved are:
- Create an Amazon EC2 key pair
- Create a Security Group (ie, a firewall rules)
- Find a suitable Amazon Machine Image (AMI)
- Launch the EC2 instance
- Configure the web server
After walking through those steps we’ll also take a look at how to shut down the EC2 instance at the end and clean up afterwards, so that nothing is left behind.
Preparation
I’ve already installed and configured the AWS PowerShell tools on my computer, so to get ready for the next steps I’ll launch a PowerShell session, set my default AWS credentials, and set my default AWS region to Sydney (ap-southeast-2).
Windows PowerShell
Copyright (C) 2013 Microsoft Corporation. All rights reserved.

PS C:\Scripts> Set-AWSCredentials -ProfileName Idea11
INFO: Credentials loaded from stored profile name 'Idea11'.
PS C:\Scripts>
PS C:\Scripts> Set-DefaultAWSRegion ap-southeast-2
PS C:\Scripts>
Create an Amazon EC2 Key Pair with PowerShell
An EC2 key pair is required when launching EC2 instances. We can create a new key pair using New-EC2KeyPair.
PS C:\Scripts> $keypair = New-EC2KeyPair -KeyName KeyPair
Store the private key to a file in a safe location.
PS C:\Scripts> $keypair.KeyMaterial | Out-File -Encoding ascii C:\Secret\Path\To\Keys\ec2-demo-key.pem
Create a Security Group
Next let’s create a security group to control which network ports will be open for the EC2 instance. This will be a Windows instance so I’d like to be able to RDP to it (TCP 3389), and also run a website on it (TCP 80).
Security groups are created using New-EC2SecurityGroup.
PS C:\Scripts> New-EC2SecurityGroup -GroupName EC2DemoSecurityGroup -GroupDescription "Security group for EC2 demo"
sg-f81bc79d
By default the security group allows no network traffic to reach the EC2 instance.
PS C:\Scripts> Get-EC2SecurityGroup -GroupNames EC2DemoSecurityGroup


Description         : Security group for EC2 demo
GroupId             : sg-f81bc79d
GroupName           : EC2DemoSecurityGroup
IpPermissions       : {}
IpPermissionsEgress : {Amazon.EC2.Model.IpPermission}
Tags                : {}
VpcId               : vpc-9c0900fe
To open up a network port we run Grant-EC2SecurityGroupIngress.
PS C:\Scripts> Grant-EC2SecurityGroupIngress -GroupName EC2DemoSecurityGroup -IpPermissions @{IpProtocol = "tcp"; FromPort = 80; ToPort = 80; IpRanges = @("0.0.0.0/0")}

PS C:\Scripts> Grant-EC2SecurityGroupIngress -GroupName EC2DemoSecurityGroup -IpPermissions @{IpProtocol = "tcp"; FromPort = 3389; ToPort = 3389; IpRanges = @("0.0.0.0/0")}
Running Get-EC2SecurityGroup shows us that the IpPermissions attribute has changed, but we can’t see the details.
PS C:\Scripts> Get-EC2SecurityGroup -GroupNames EC2DemoSecurityGroup

Description         : Security group for EC2 demo
GroupId             : sg-f81bc79d
GroupName           : EC2DemoSecurityGroup
IpPermissions       : {Amazon.EC2.Model.IpPermission, Amazon.EC2.Model.IpPermission}
IpPermissionsEgress : {Amazon.EC2.Model.IpPermission}
Tags                : {}
VpcId               : vpc-9c0900fe
But we can view the IpPermissions property directly and see the rules that were added.
PS C:\Scripts> Get-EC2SecurityGroup -GroupNames EC2DemoSecurityGroup | Select -ExpandProperty:IpPermission

FromPort         : 3389
IpProtocol       : tcp
IpRanges         : {0.0.0.0/0}
ToPort           : 3389
UserIdGroupPairs : {}

FromPort         : 80
IpProtocol       : tcp
IpRanges         : {0.0.0.0/0}
ToPort           : 80
UserIdGroupPairs : {}
Find a Windows Server AMI
No need to manually install Windows Server on our EC2 instance, instead we can launch an instance using an Amazon Machine Image. But first we need to know the AMI that we’re going to use.
We can search the available AMIs in a region using Get-EC2Image. In this example I’m only looking for AMIs provided by Amazon; no third party or marketplace AMIs.
PS C:\Scripts> Get-EC2Image -Owners amazon
Note that the owner “amazon” is case-sensitive.
Just running that command alone returns far too many results. Let’s narrow it down to just the Windows platform.
PS C:\Scripts> Get-EC2Image -Owners amazon -Filters @{Name = "platform"; Values = "windows"}
Still a lot of results. Let’s narrow it down even further to just images named for Windows Server 2012 R2 in English.
PS C:\Scripts> Get-EC2Image -Owners amazon -Filters @{Name = "name"; Values = "Windows_Server-2012-R2*English*"} | select imageid,name | ft -auto

ImageId      Name
-------      ----
ami-7da8c647 Windows_Server-2012-R2_RTM-English-64Bit-Core-2014.11.19
ami-a9a9c793 Windows_Server-2012-R2_RTM-English-64Bit-SQL_2014_RTM_Express-2014.11.19
ami-e5a9c7df Windows_Server-2012-R2_RTM-English-64Bit-SQL_2014_RTM_Web-2014.11.19
ami-efa8c6d5 Windows_Server-2012-R2_RTM-English-64Bit-Base-2014.11.19
ami-f1a9c7cb Windows_Server-2012-R2_RTM-English-64Bit-SQL_2014_RTM_Standard-2014.11.19
That’s more like it. The ImageID ami-efa8c6d5 looks like the one we want.
Launching the EC2 Instance
Now that we’re got all the pre-requisites and info we need let’s go ahead and launch the EC2 instance.
I’ve already looked at the EC2 pricing page and decided that I want to run a t2.micro instance which is available in the Sydney region that I’m working in. And I know from the previous step that the image ID I want is ami-efa8c6d5.
To launch the EC2 instance we use New-EC2Instance.
PS C:\Scripts> New-EC2Instance -ImageId ami-efa8c6d5 -MinCount 1 -MaxCount 1 -KeyName KeyPair -SecurityGroups EC2DemoSecurityGroup -InstanceType t2.micro


GroupNames    : {}
Groups        : {}
Instances     : {KeyPair}
RequesterId   :
ReservationId : r-ec9faad2
The instance will start reasonably quickly, but we can check on its state using Get-EC2Instance.
PS C:\Scripts> $instance = Get-EC2Instance -Filter @{Name = "reservation-id"; Values = "r-ec9faad2"}

PS C:\Scripts> $instance.RunningInstance.State

Code                                                        Name
----                                                        ----
16                                                          running
We’ll also need to know the public DNS name so that we can connect to it.
PS C:\Scripts> $instance.RunningInstance.publicdnsname

ec2-54-66-233-197.ap-southeast-2.compute.amazonaws.com
Retrieving the Password
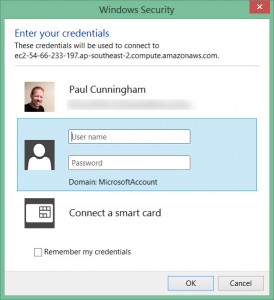
At this stage I can launch the Remote Desktop client and connect to the instance. However, I don’t know the administrator password, so I can’t login.
To retrieve the password for the instance we use the private key file that was saved earlier.
PS C:\Scripts> $password = Get-EC2PasswordData -InstanceId $instance.RunningInstance.instanceid -PemFile C:\Secret\Path\To\Keys\ec2-demo-key.pem -Decrypt
The password is now stored (in clear text) in the $password variable.
PS C:\Scripts> $password
Xtcg?Nop3s
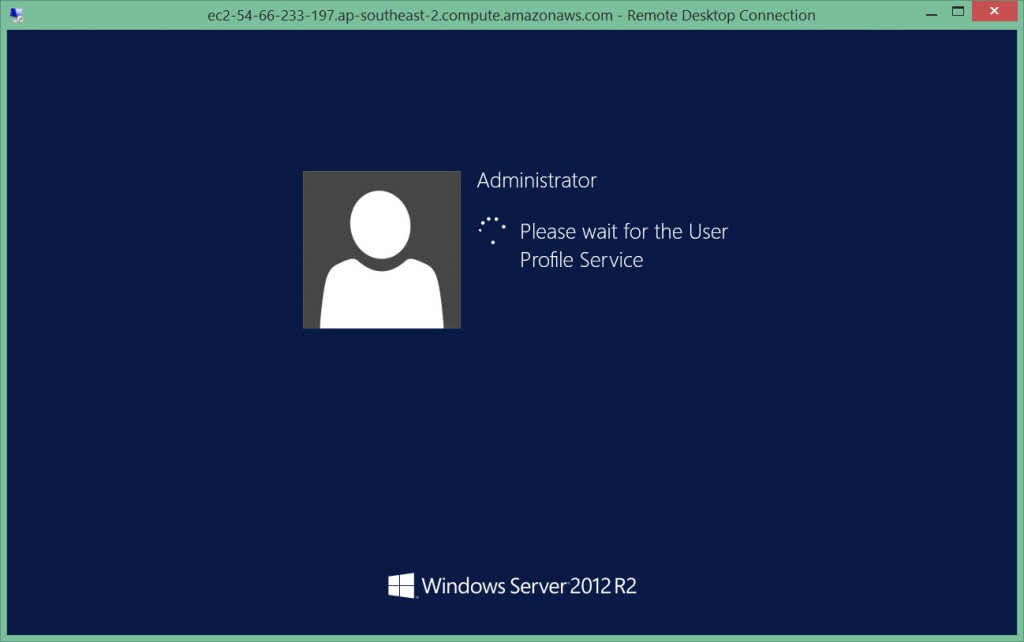
And with that password I can log on to the server using Remote Desktop.
Configuring a Basic Web Server
From that RDP session I can quickly install the web server features using PowerShell.
PS C:\> Install-WindowsFeature web-server

Success Restart Needed Exit Code      Feature Result
------- -------------- ---------      --------------
True    No             Success        {Common HTTP Features, Default Document, D...
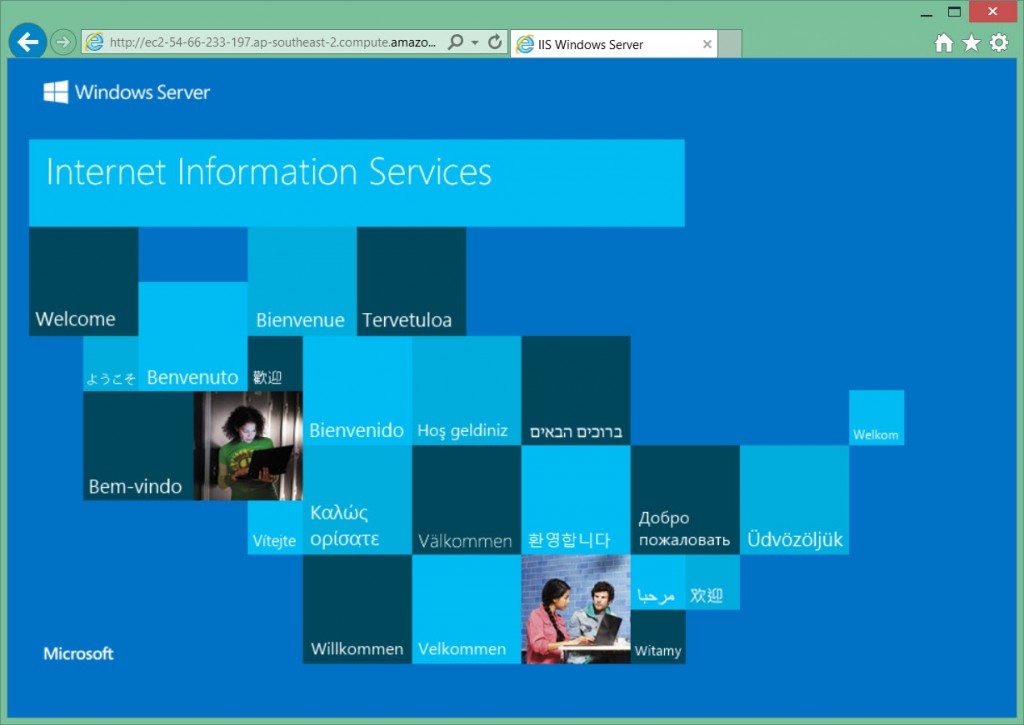
Now when I browse to the public DNS name of the EC2 instance I can see the default IIS homepage.
Shutting Down the EC2 Instance and Cleaning Up
Since this was just a demo I don’t want to leave the EC2 instance running, nor do I want to leave all of the objects behind such as the security group. So let’s shut it all down and clean up.
First, terminate the EC2 instance.
PS C:\Scripts> Get-EC2Instance $instance | Stop-EC2Instance -Terminate

Stop-EC2Instance
Are you sure you want to terminate the specified instance(s)?
[Y] Yes  [N] No  [S] Suspend  [?] Help (default is "Y"): y

CurrentState                            InstanceId                              PreviousState
------------                            ----------                              -------------
Amazon.EC2.Model.InstanceState          i-627011ad                              Amazon.EC2.Model.InstanceState
Remove the key pair.
PS C:\Scripts> Remove-EC2KeyPair KeyPair

Remove-EC2KeyPair
Are you sure you want to remove keypair 'KeyPair'?
[Y] Yes  [N] No  [S] Suspend  [?] Help (default is "Y"): y
And remove the security group.
PS C:\Scripts> Remove-EC2SecurityGroup -GroupName EC2DemoSecurityGroup

Remove-EC2SecurityGroup
Are you sure you want to remove security group ''?
[Y] Yes  [N] No  [S] Suspend  [?] Help (default is "Y"): y
Summary
As you can see EC2 instances can be managed from PowerShell using the AWS tools. A lot of what was demonstrated in this article was a manual, tedious process. There is a lot of room to improve and streamline that entire process to be more automated. That will be the subject of upcoming blog posts.


